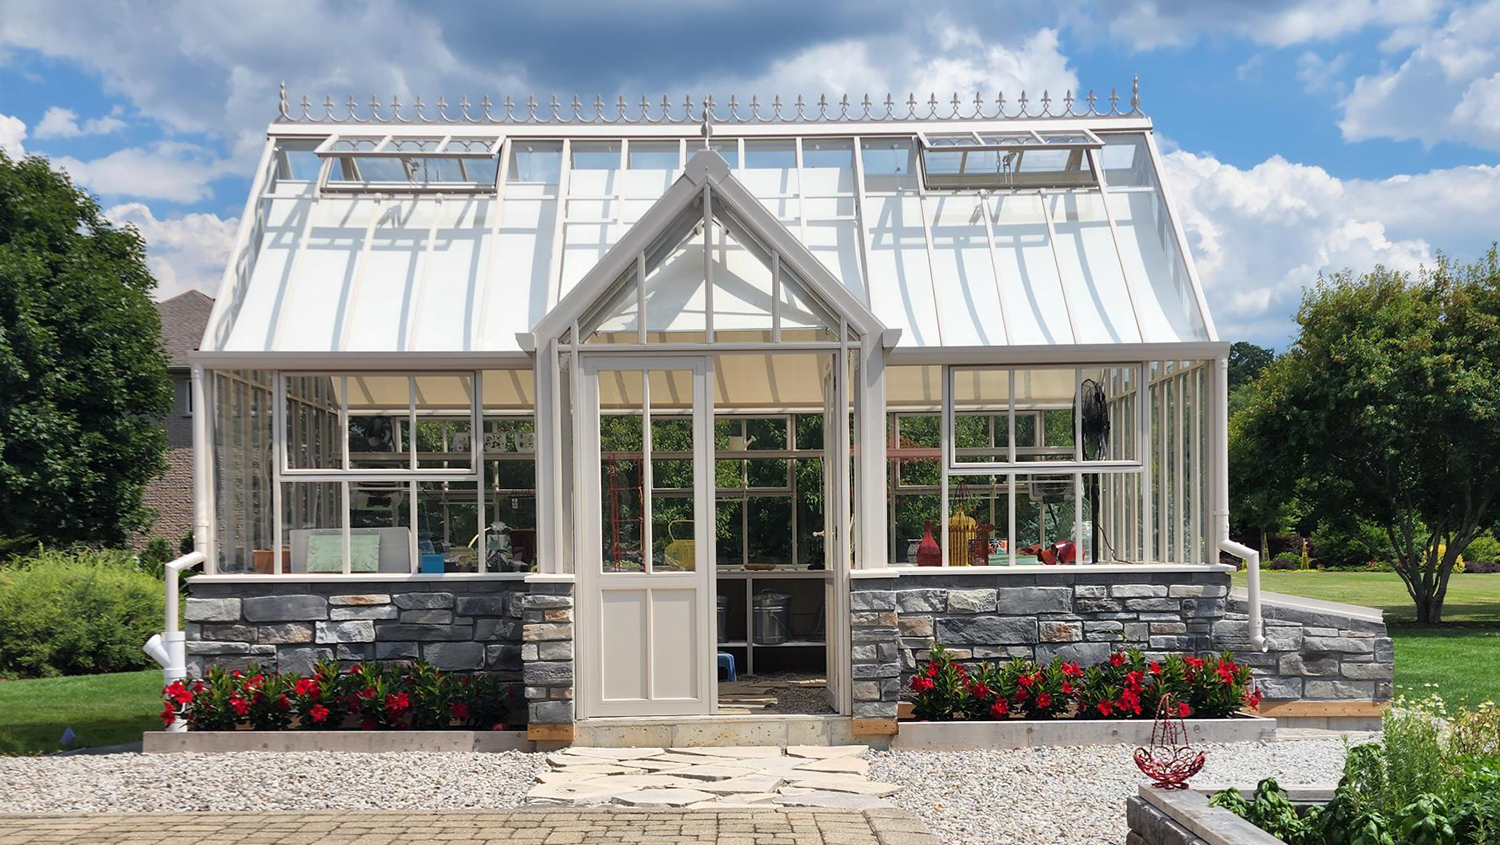
Hartley greenhouse in the summer
Let me start off by saying I love my new Hartley Greenhouse. It’s a dream to have something this beautiful and yet, for me, functional. I still have some finishing details – brickwork which could not be completed before winter arrived and landscaping – but the main structure is up and it’s lovely.
So how did the process go? I’d have to say some smooth sailing and some bumps in the road. Here’s how building our Hartley went.
Ordering from Hartley
Not surprisingly, this went pretty smoothly.
The final decision to make this big an investment was partially driven by covid. Like many, our priorities changed as a result of spending so much time in lockdown. Lucky for me, we have a beautiful 2+ acre yard which I love spending time in. Prior to Covid we thought we would spend some of our retirement split between a condo in the City of Toronto and our country home. Covid changed all that. We learned we were just as happy spending more time relaxing in our yard. We decided to make it our vacation property, our cottage and our home all rolled into one. Best of all, no packing, no travelling, and no caring for two properties.
So, in March 2021, I reached out to four high-end greenhouse companies, two in Canada and two in England. While I know they were likely busy with inquiries, the only company I even heard from was Hartley Botanic.
Dan Barry – my sales rep – was fantastic. He sent plenty of information to help me make decisions, and the ordering process was crazy easy. I had a signed proposal (aka contract) by early April. Bear in mind, I’m a quick decision-maker which helped. Please note, I’m not going to talk about the cost and payment process. Suffice it to say, a Hartley is expensive. I knew that going in, so I have no complaints whatsoever on that part.
I’m also happy to say that Dan’s help didn’t end once I signed the contract and paid my deposit. Throughout my build, he was my ‘go-to’ for information. Any time I had a question, I got a quick response with pictures and ideas to work from. As a team, everyone at Harley was both knowledgeable and happy to provide advice. The trick, though, was to know what to ask!
Even though I was able to order my greenhouse in less than a month, build and delivery takes a long time, and covid lengthened this period. Hartley was dealing with higher demand, and at the end, which you’ll read shortly, they also had some logistical issues. The original delivery and install date was scheduled for November 15. A call from Hartley meant a delay to November 30. Not bad but unfortunately, the installation was delayed a third time (with much stress on my end) until December 13, 2021.
So ten months from request to installation. If you are thinking of building a high-end greenhouse, you can expect the process to take at least this long, maybe a year now, since I know they are even busier.
Building the Base
What you are buying from Hartley is the glass top and frame. In my case, I was also ordering installation by the Hartley team.
You are, however, responsible for having the base built. My only comment would be that, while Hartley answered all my questions along the way, it would be helpful to get some more tips and suggestions early in the process. They provided blueprints (which you must sign off on), but I still had a ton of questions regarding materials, tolerances, and more concerns that came up during the build, particularly around how the brick would meet the frame, heating ideas, etc. Hartley provided documentation, but only after I asked. They assume that you and your builder should know these things, but with something so specialized, that’s a bad assumption.
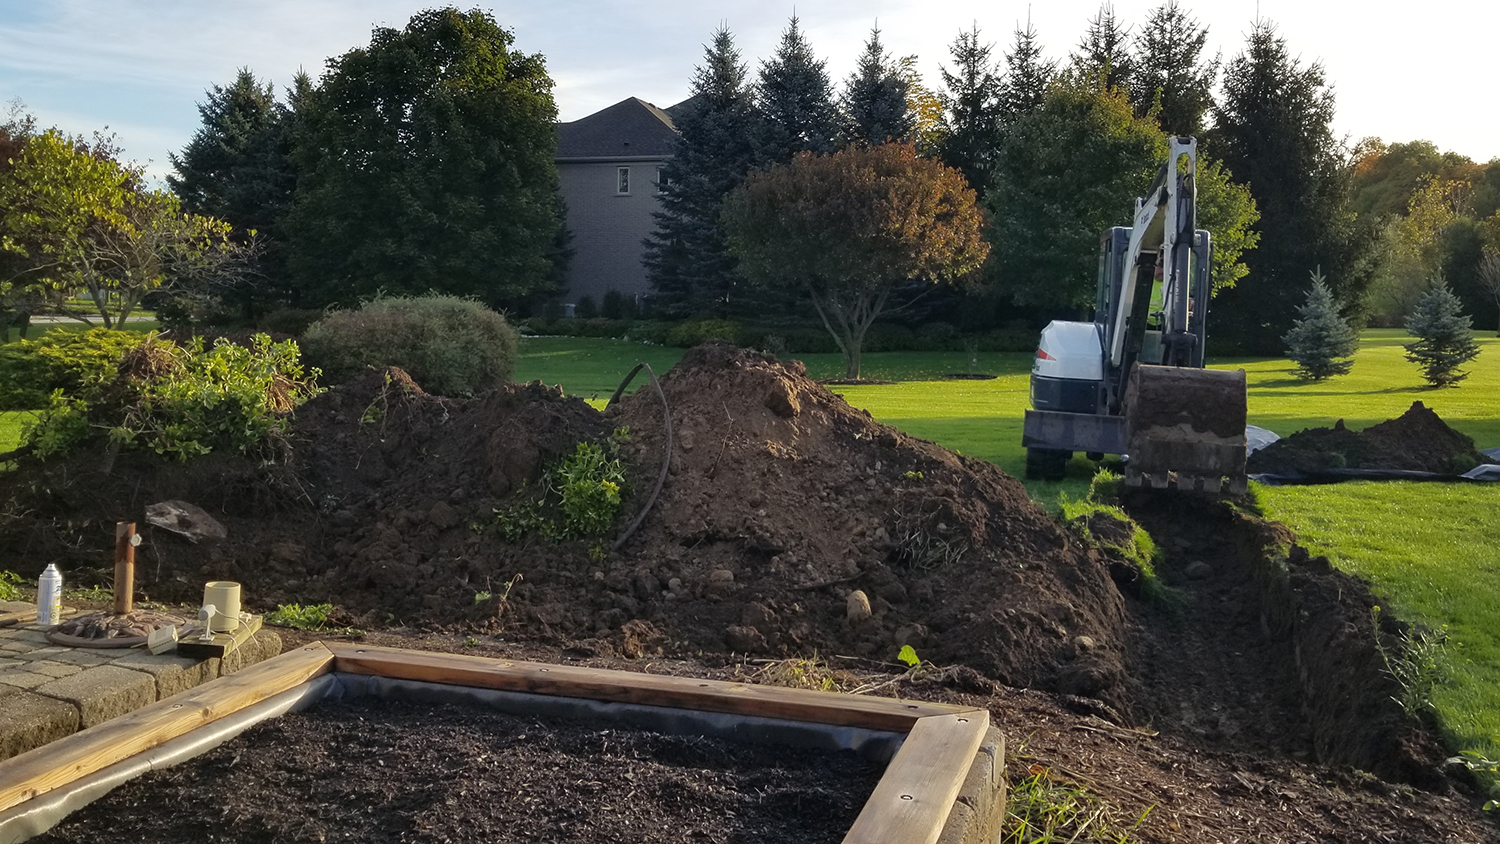
Digging the hole for the foundation
I also had a somewhat difficult time making my contractor understand that this was not a typical base like you would put down for a garage. If you are working with a contractor, make sure they fully understand they can’t make ‘assumptions’ and must follow the blueprints exactly. We had a few hiccups along the way. Easily solvable but still stressful. For example, the foundation guys decided to pour the floor of the cold frame as a solid slab since, in their eyes, the space in the middle was narrow. A bit of a problem for water drainage to say the least! Because I was dealing with brick issues, I didn’t see this until it was poured. No problem, we put in drainage holes along the sides, but still, following the blueprints would have avoided the need for this fix. Next, they poured the door foundation sloped like you would a house. Again, you can’t see this until the concrete plates for the walls are removed. However, it’s not how a Hartley works. The door floor should be flat so that required another fix. Lastly, they missed the slope of the cold frame, which required a third fix. Again, basically, they didn’t follow blueprints exactly so make sure you make this clear to your contractor. (PS we like our contractor, he’s done work for us before and I’d recommend him again. I’m not sure how much of this was just because everyone was so busy that they tried to work too quickly, not paying close enough attention along the way.)
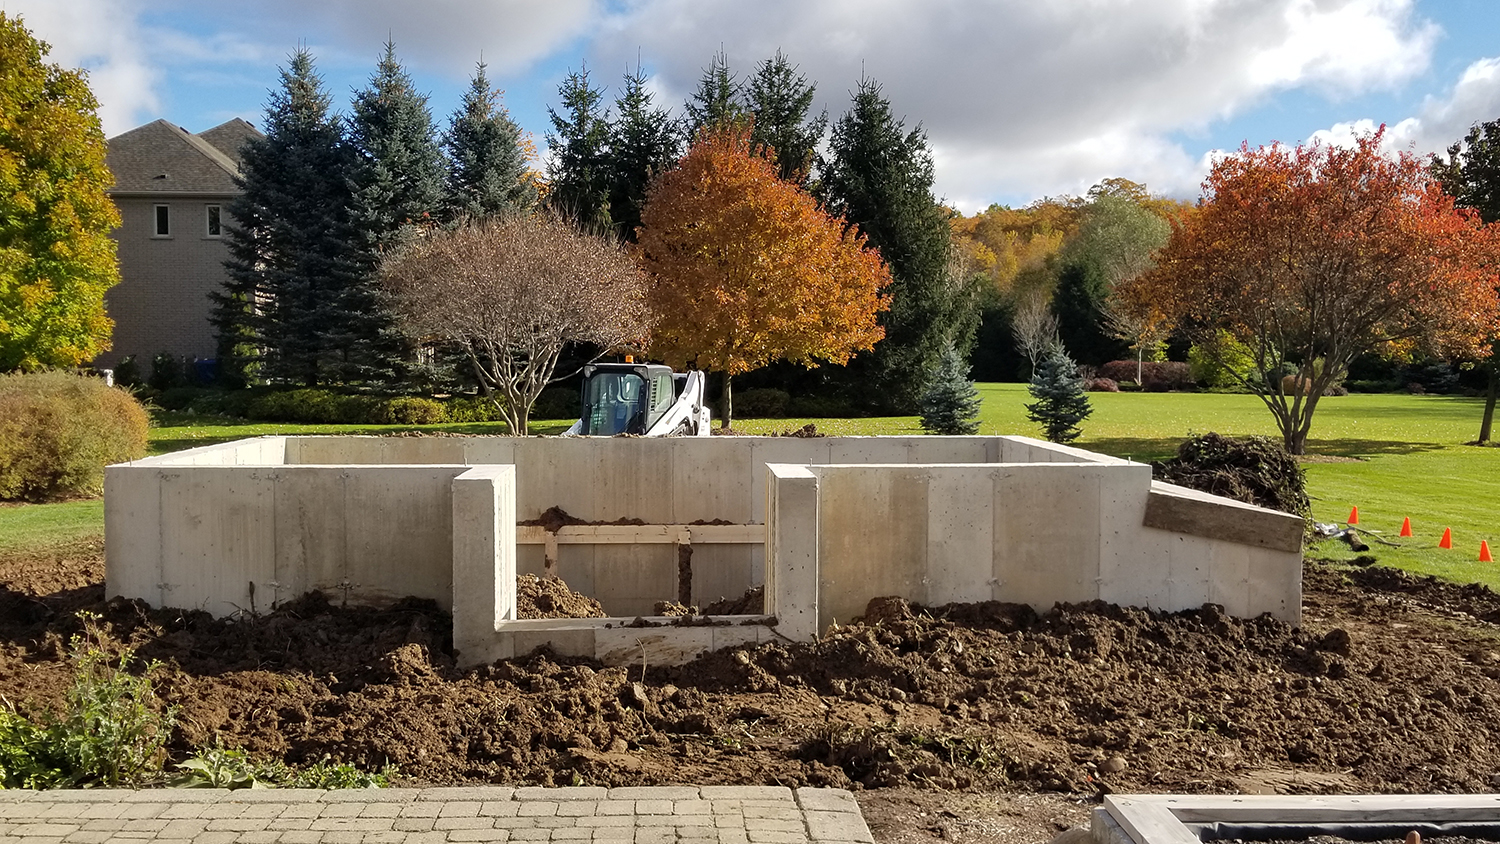
Foundation after it was backfilled
Logistically, we also had a few issues to deal with during this phase of the project. Lucky for me, I think well on the fly. Hopefully, you do a better job pre-planning.
The location was wide open, but near our house and after almost 20 years living here, our yard is pretty well landscaped. Bringing in large equipment would have ruined too much of our established yard and gardens. The excavator could come up the side yard, limiting the damage, but cement trucks were a no-go. So that meant bringing in a pumper truck. Needless to say, the local kids loved it, and truthfully, it was a very exciting day.
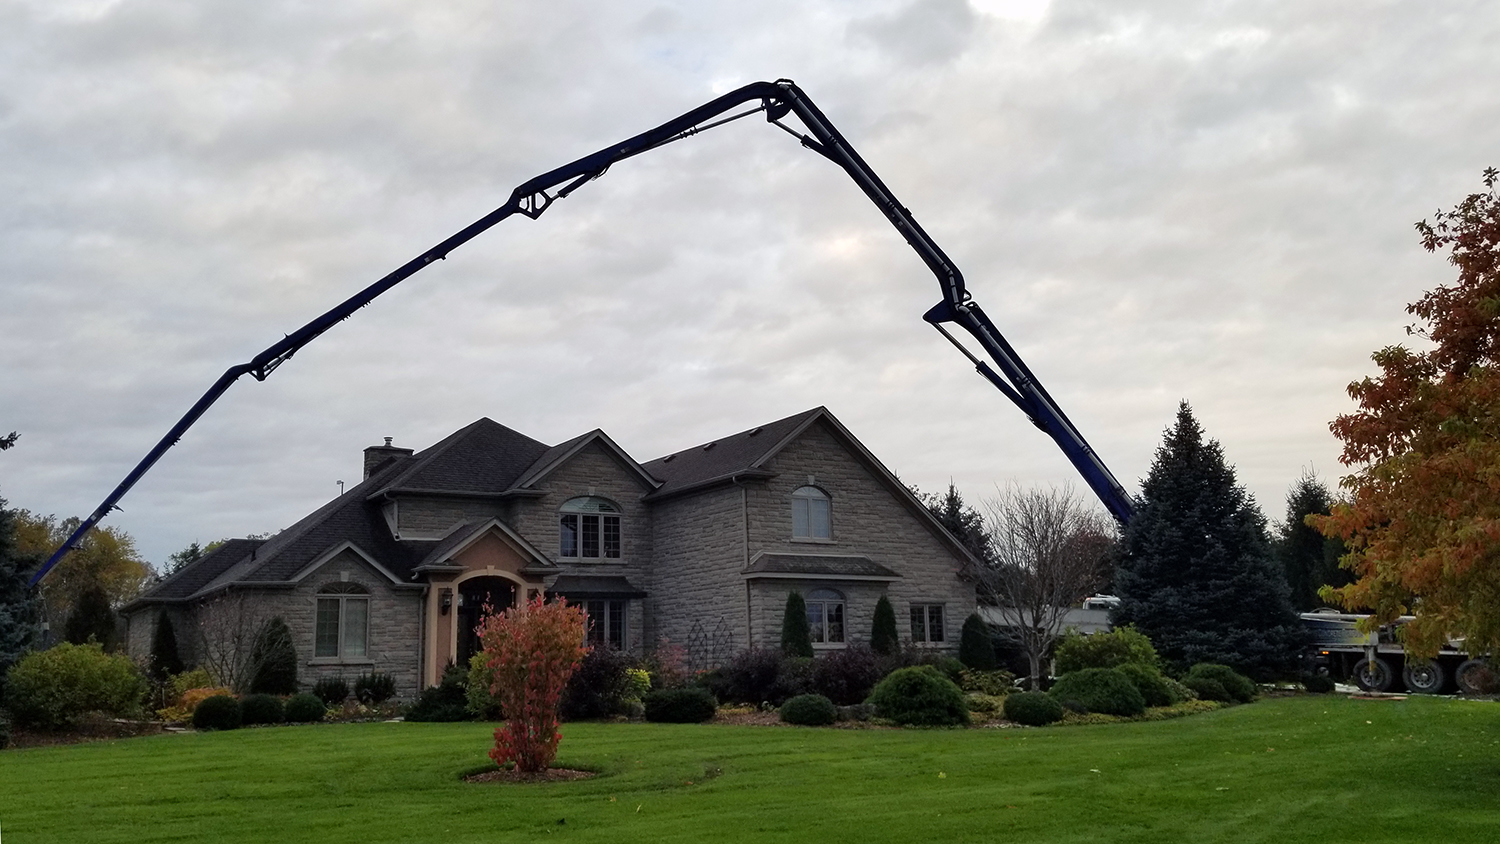
Pouring the concrete for the walls
Next, I had to make a decision regarding backfilling the inside. I am not planning on growing on a soil floor in the greenhouse. I intend to use the greenhouse for seed starts and plants in pots. I even ordered staging from Hartley for this purpose. Still, how should I fill the inside of this big 20 foot by 11-foot hole? Ultimately, I decided to backfill partially with excavated dirt (to save money), then bring in 20 inches of clear stone and 6 inches of pea gravel. Pea gravel would look nice, and the deep stone base would drain well. But how would I do this without making a huge mess of our yard? Easy (but expensive), we used a blower truck! After stressing about how to bring in 20 yards of clear stone and another 3 or 4 yards of pea gravel, I remembered the company that blows in our mulch each year. So, a call to Gary at LandSource Organix confirmed they could blow in the aggregate.
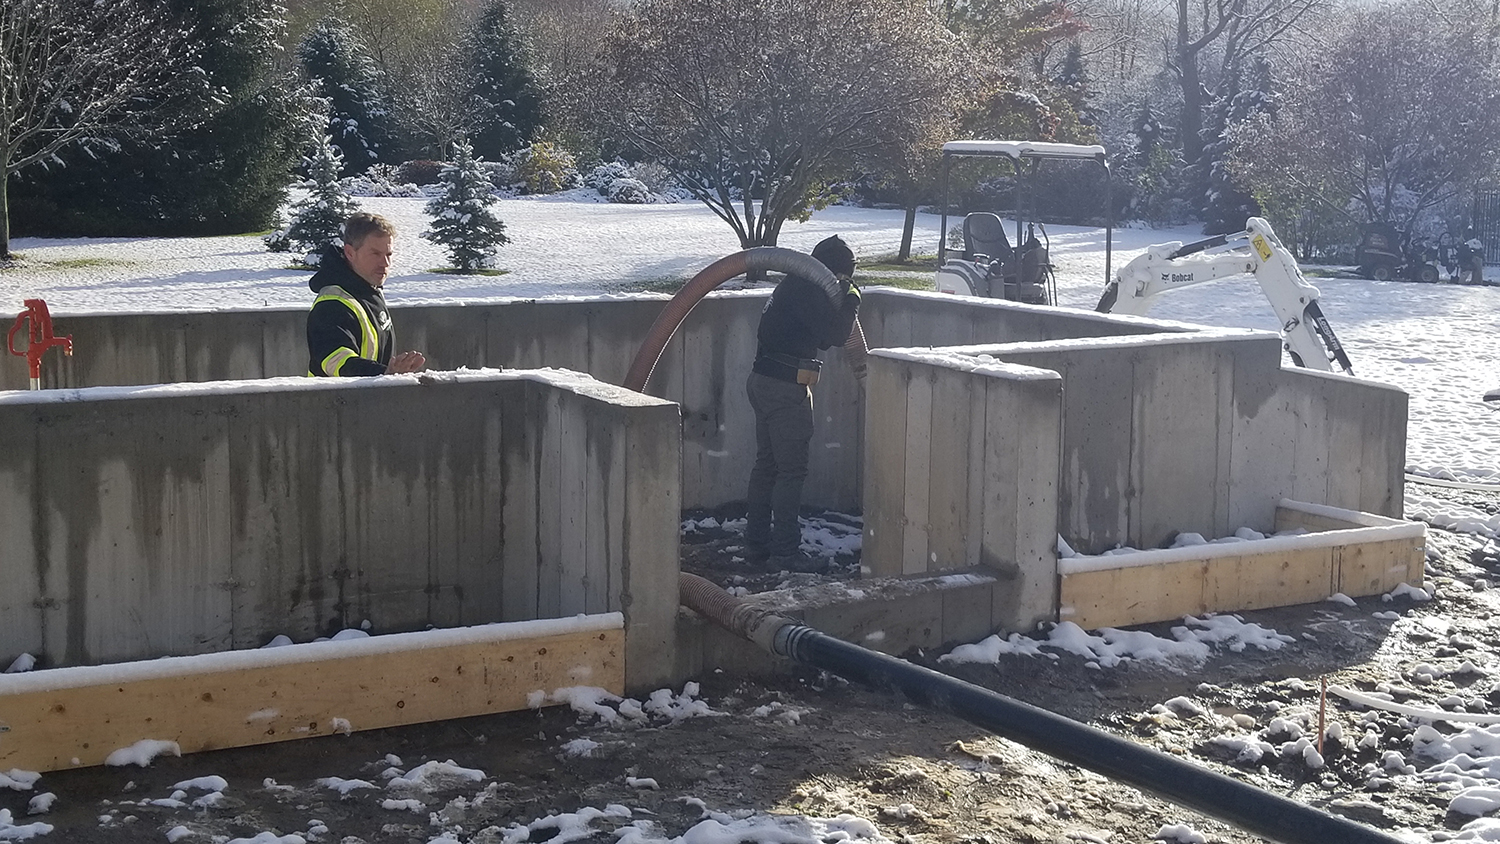
LandSource Organix team blowing in aggregate
Simple, neat, and perfect. The outside aggregate will work as my patio and working area until the landscapers finish.
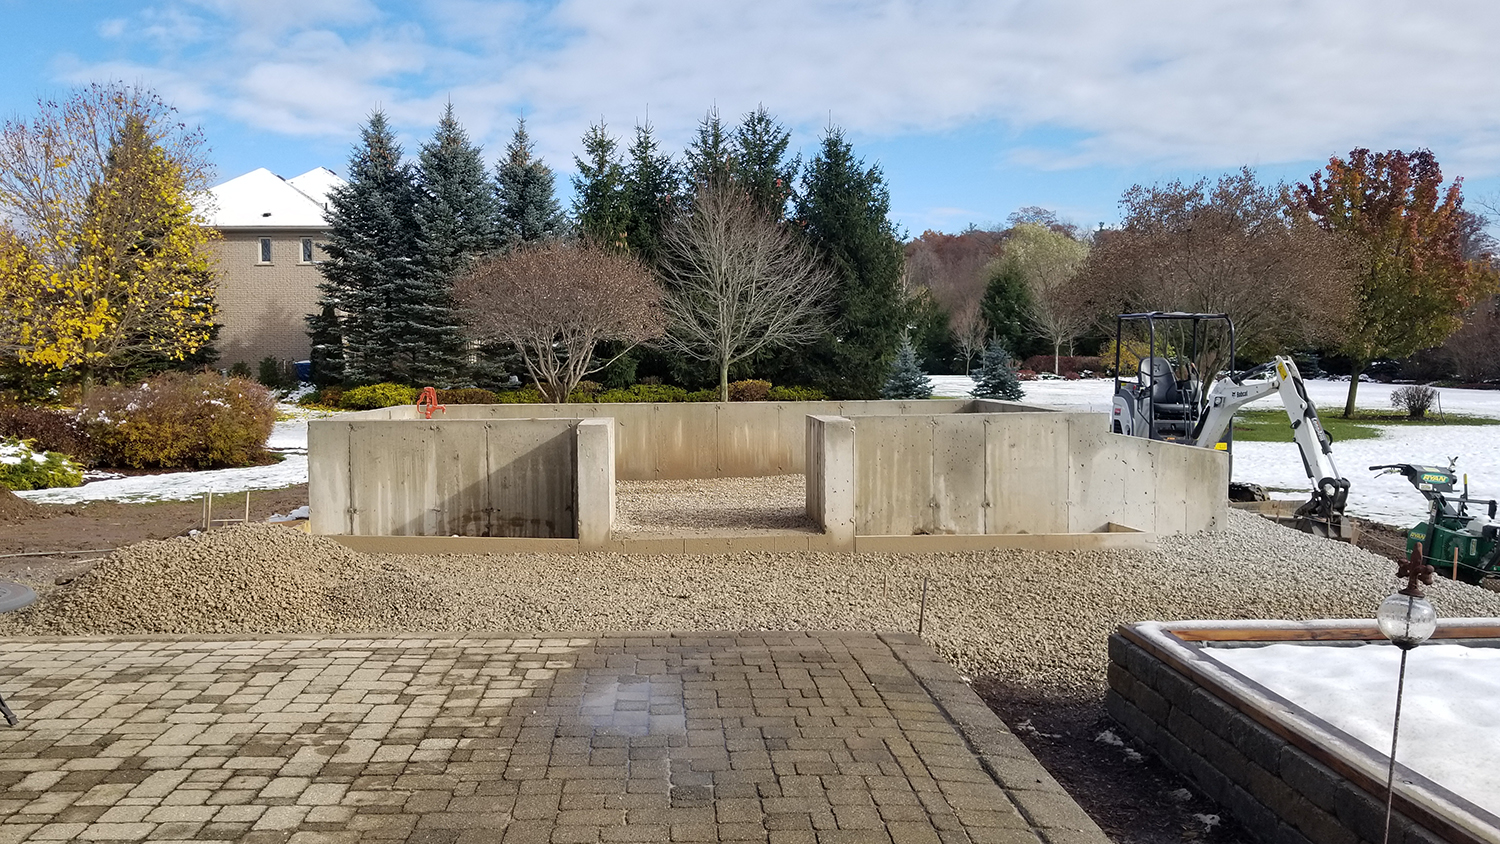
Completed aggregate blown in
Those are just some of the decisions you’ll need to make. I really should have put more thought upfront into some of this, but lucky for me, it all worked out in the end.
Greenhouse Installation
As I said, our original glass structure was supposed to be delivered and installed beginning November 15. I was totally understanding when they called in October to delay to November 29. Covid was running havoc with supply chains and shipping after all.
However, I was not so happy with the second delay. Not so much the delay itself but the lack of communication from Hartley.
So here’s what happened.
On November 28, I got a call that the team was on the way, but my greenhouse was ‘stuck in customs’ through some crazy idea that customs called me, and I denied knowledge of the delivery. Clearly, if customs called, they called the wrong number.
Not to worry the logistics guy from Hartley said, it would be released and on its way and would be there Monday afternoon. Well, Monday arrives and no greenhouse material, or installers. I called. Sorry, it’s still in customs, they were on it and it would be here Tuesday morning.
In the meantime, I get a customs notice to pay some duty on a shipment. Hurray, my greenhouse is coming! Nope. Tuesday arrives, no greenhouse. And it turns out the customs notice to me was for some other parts which will arrive Friday. Huh? That doesn’t make sense.
So Tuesday I send an email, can you explain what’s going on. Where is my greenhouse? Next thing, I get a call from the US President of Hartley with a ‘proposal’. My greenhouse would arrive Wednesday AM, but the installers would come back in two weeks – December 13 – to begin the installation. Needless to say, I didn’t feel I had an option. And the stress of not knowing what was happening was overwhelming, to say the least.
And it turns out what was also happening was that all the sections for my greenhouse were not in the original delivery. The windows, vents, and staging material were not ready and were being shipped separately. Yet no one from Hartley decided to tell me this. I found out from the installers when they offloaded what did arrive during the original install week. Apparently, if the main glass structure arrived on Monday, November 29, as planned, they would have begun installation but then left me with an unfinished greenhouse to come back, who knows when!
Even dealing with the missing pieces was a nightmare. These parts were supposed to be shipped that week, but it took repeated calls on my part to figure out when and confirm delivery. It took three shipments, with the last one finally arriving on December 10.
So, it’s a long story to say that Hartley’s logistics were pretty disorganized, and their communication when issues arose was even worse.
However, on December 13, one installer showed up. The second installer did not arrive until the end of the next day due to covid test delays, which was not their fault but almost too comical and a sign of just how glitchy this whole installation was going.
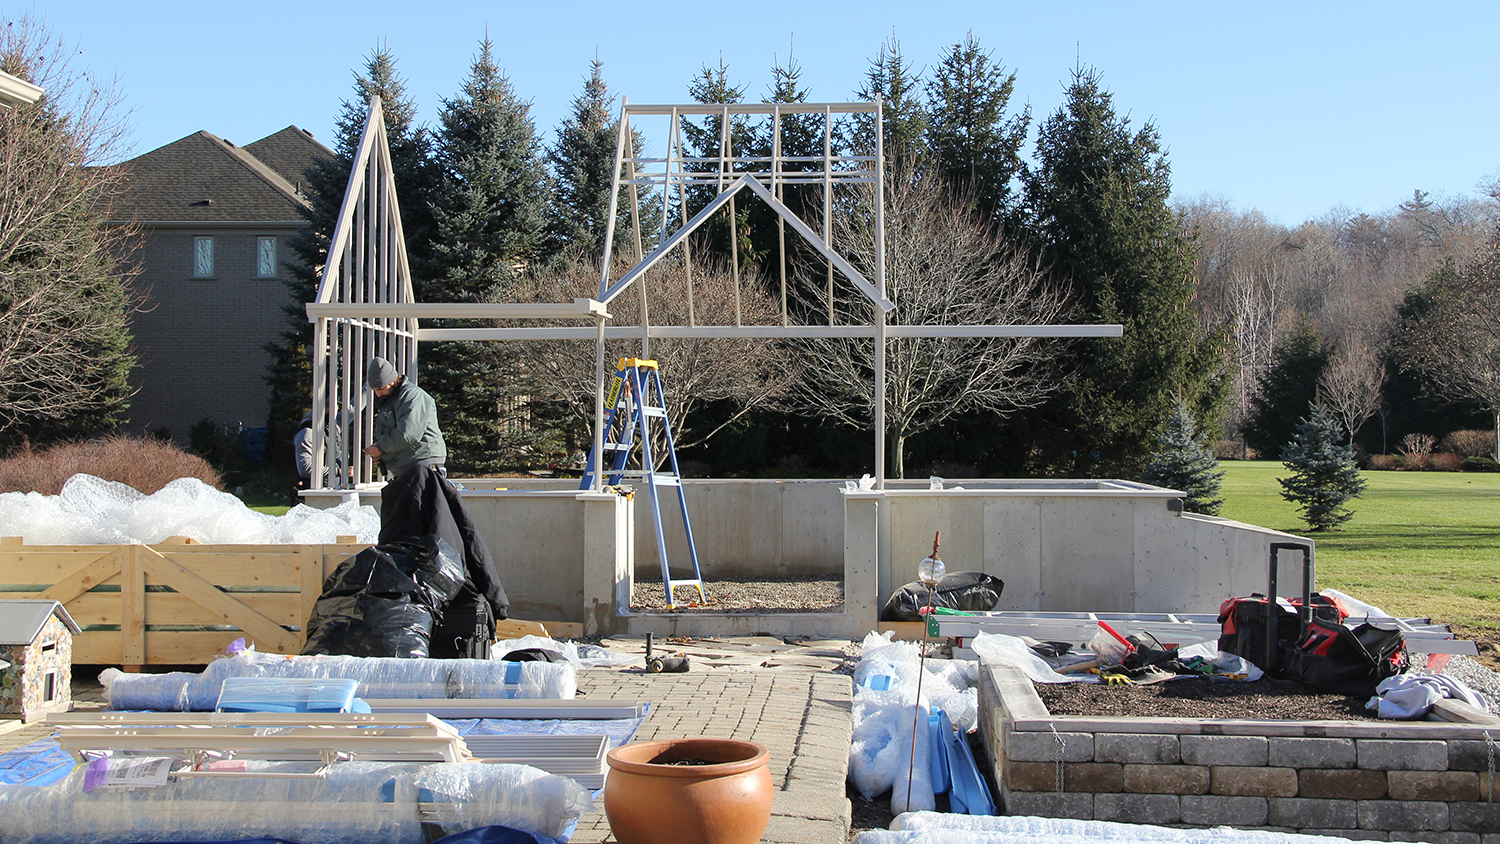
Luckily, we had good weather for the Hartley installation team
OK, so the greenhouse parts were finally here (all of them), and the installers began.
I’m happy to say this part went very smoothly. The installation team was awesome – thanks Micah and Alex!
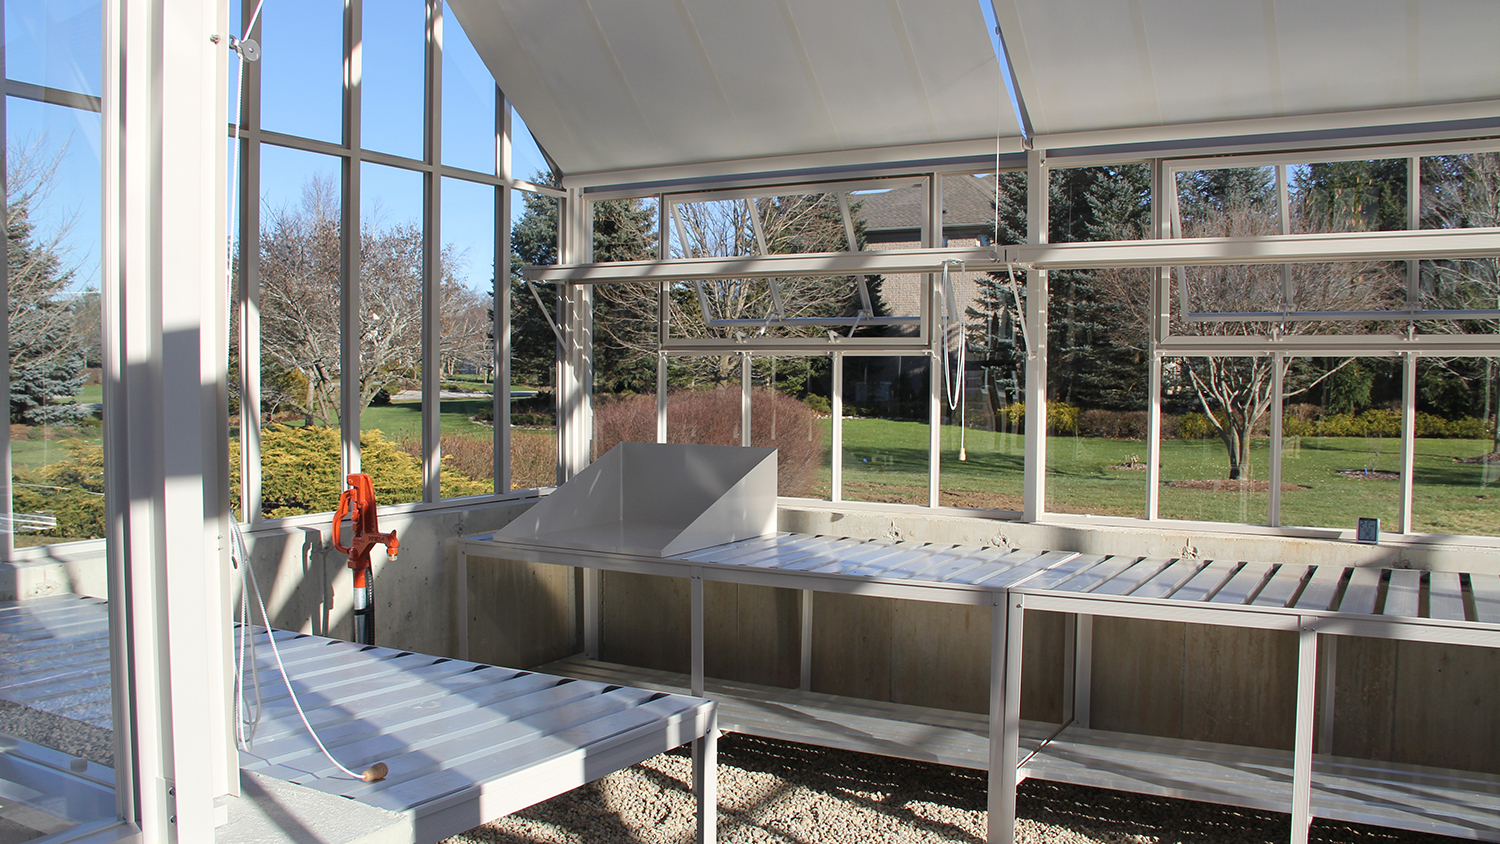
Inside the Hartley and staging or shelving
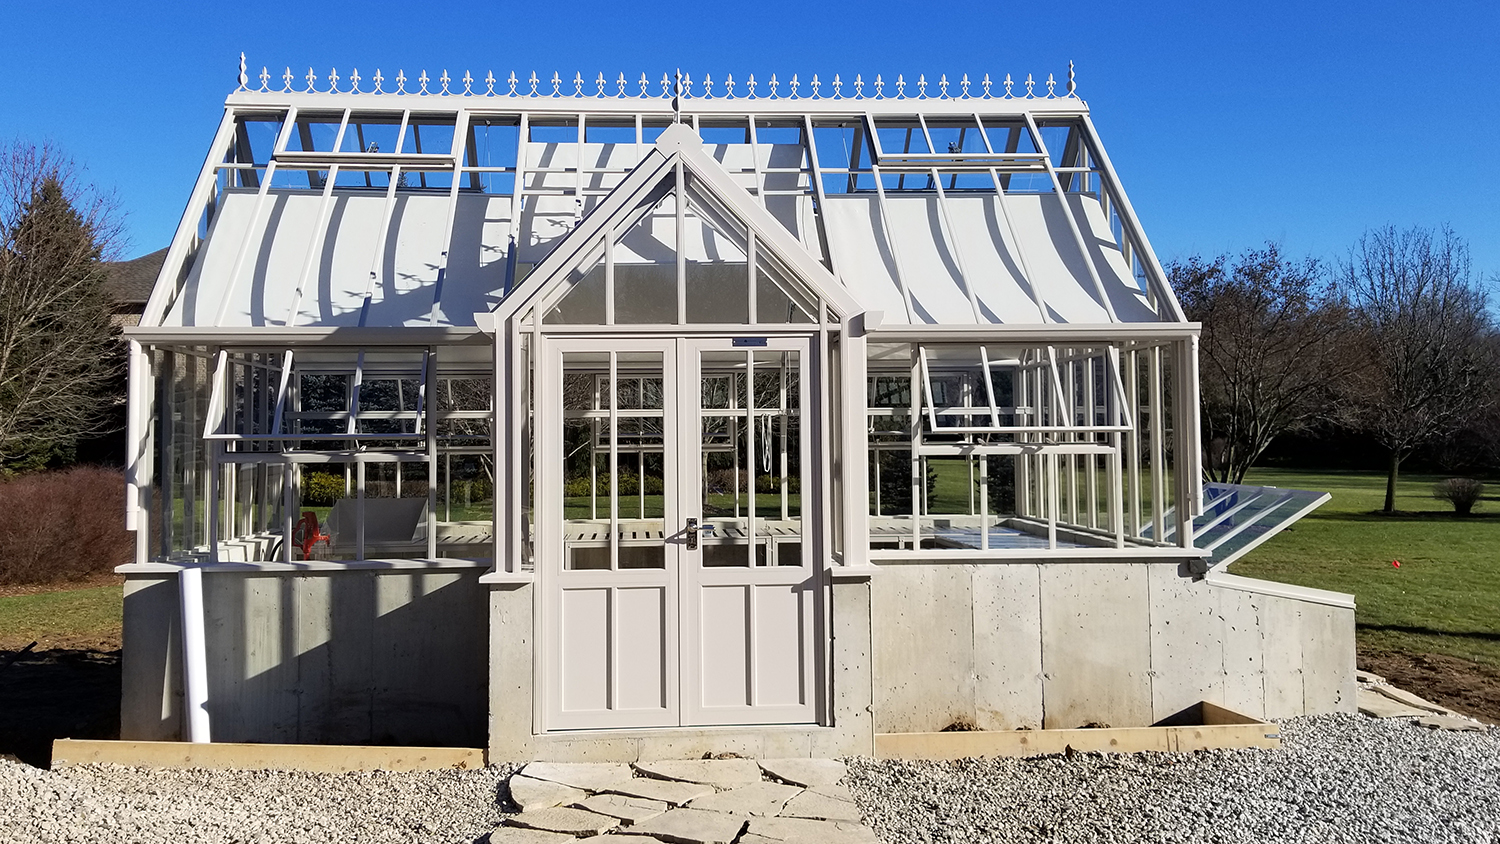
Hartley installation complete
Water and Electrical
Also, your responsibility in the process is how to bring water into the greenhouse and how to heat and light your greenhouse. I decided on three things:
- I wanted a frost-free yard hydrant rather than a standard water tap. We live in Zone 5 Ontario. It gets cold here, I’m talking -21C cold in January and February. I wasn’t sure if I would be using my greenhouse year-round; in fact, it was unlikely. There was a high chance that I would not be heating my greenhouse from December through February each year. That meant potentially freezing temperatures at night. A frost-free tap meant I could safely leave the heat off and not worry. So I ordered a 5 foot Iowa Yard Hydrant. Best decision I could have made, I’m quite happy with it. Luckily, the company doing the installation and hook up to our well, which was another logistical challenge, knew what they were doing.
- I also decided to heat my greenhouse with electric heaters. While gas was an option, the thought of gas heaters scared me. Hydro, I could wrap my head around. And if I needed to upgrade or replace, the process would be easier. So, with the help of Hartley, I decided on how many BTUs I would need to keep the greenhouse at somewhere between 4 and 10 Celcius during February (40 to 50 Fahrenheit). In the end, I ordered 2 electric heaters that would deliver up to 17,000 BTUs each. Each run off separate thermostats. I’ll write a separate post on my heating experiments, but I’m happy with how they are working.
- Finally, I also have 3 hanging lights (which I decided to paint to match the greenhouse trim – hint to Hartley, offer lights for sale) and 6 electrical outlets around the perimeter of the walls to give me enough electricity for fans, heat mats, and grow lights. Oh, and my lights are on timers, so it looks awesome lit up at night!
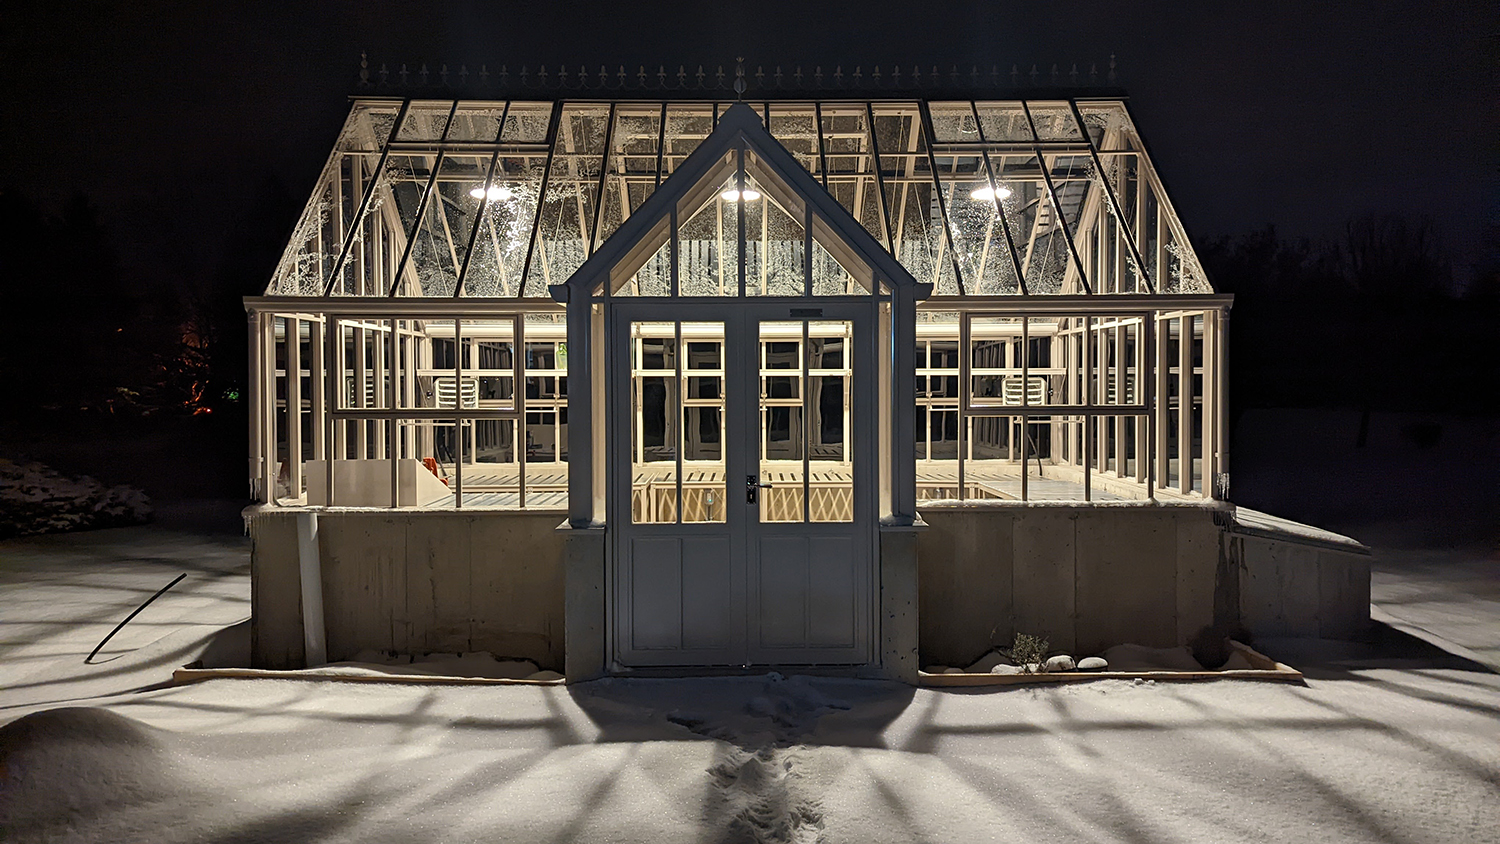
All lit up at night!
Finished Hartley (Almost)
At the end of the day, despite some of the drama, I couldn’t be more pleased with my greenhouse. It’s beautiful, and I can’t wait to start some seeds soon. We still have a bit to complete. The brickwork was completed in the spring, but I still need to finish landscaping around the hartley. Covid has kept good tradesmen very busy, but I’m happy to wait. That’s just aesthetics; it won’t stop me from using my greenhouse.
Which style did you choose?
I chose the Victorian Lodge, although I put the cold frames on the side rather than beside each door. This was because I wanted the cold frames to face south.
Thank you for sharing. I just received the Hartley catalogue and am in awe… Can I ask where you got your tables? Veronica
Hi Veronica, the tables came from Hartley as well. They can customize any layout you’d like, and they have a couple of different designs. I went for the basic aluminum and am very happy with them. They are fairly light so easy for moving when I need to clean out the greenhouse.
Your greenhouse is beautiful! Can you tell me the color? Is this white or the verona stone?
thank you
Hi Lauri, good eye – yes mine is Verona Stone. I’m quite happy with it. I even painted the light fixtures the same colour.
Thanks for the thorough information. I’m thinking if getting one so it was nice to read about the process beforehand.
Aha. I’m in the early stages of looking for a glass greenhouse and maybe a Hartley for my rural property. It’s so helpful to find your write-up of the process along with all the wrinkles. The final result is absolutely stunning.
Great to realize that the Hartley models can be ordered up to Canada. Thanks!
Thanks Tony. It has been an interesting journey over the past 3 years. Enjoy if you decide to get one, they are great.
I’m in the planning process with Hartley, so I cannot tell you how helpful this is. Thank you!
You are welcome. I have certainly enjoyed mine although it has been a learning experience. Enjoy your Hartley!
Hi I have the same greenhouse in the green in Prince Edward Island with a concrete foundation what stone did you use to face the foundation. We still have the raw concrete and I would like to finish it off.
Hi Susan, wow that took a scroll through Google photos! I used a stone veneer called Weather Ledge. This stone was too thick for under the drip edge so we bordered the top and the back wall of the coldframe with Cultured Stone by Boral Carbon Brick. The brick guys were not happy that it was that thick but I went with it anyway. Hope that helps.
Our Hartley Victorian Lodge was just recently installed and I referenced your article multiple times throughout the process – thank you! May I ask what overhead lights you ended up going with? I’m looked for something similar to the Hartley pendant lights, but of course they don’t sell such accessories in the US given voltage differences (I’m in Washington state). Thanks!
I’m very happy you found the post useful. I ended up buying lights in a shape I wanted at a lighting store then painted them with metal paint matched to a sample piece of the Hartley. It took three coats to get good coverage and you don’t see any brush marks that high up. They have been up for 4 years now and doing great. Be sure to look for waterproof lights (think outdoor under patio options) and buy LED bulbs so you don’t have to change them as often. Enjoy your Hartley!
Amazing amount of detail provided! Very helpful in understanding the full process and responsibility of the homeowner. Lots to consider.
Thanks for sharing!